
Table of Contents
Over half of American households are now growing some type of food at home, and microgreens are quickly becoming a favorite among beginners. The surge in popularity makes sense—they are packed with nutrients, require little space, and can be grown year-round on a sunny windowsill. If you are looking for a simple and rewarding way to add flavor and freshness to your meals, learning how to start your own microgreens garden opens up a new world of healthy possibilities.
Quick Summary
| Essential Insight | Clarification |
|---|---|
| 1. Select Quality Microgreen Seeds | Choose organic, untreated seeds known for great performance like radish, broccoli, sunflower, and pea shoots for optimal growth. |
| 2. Prepare Appropriate Trays and Medium | Use shallow trays with drainage and a specialized mix of peat, perlite, and vermiculite for ideal aeration and moisture retention. |
| 3. Sow Seeds Evenly and Water Gently | Distribute seeds uniformly and use a fine mist to keep the medium moist without displacing delicate seeds. |
| 4. Provide Proper Light and Temperature | Maintain temperatures between 65°F and 75°F and ensure 4-6 hours of indirect light daily to promote healthy growth. |
| 5. Harvest at the Right Time | Cut microgreens just above the soil line when the first true leaves appear, usually 7 to 21 days post-sowing, for peak flavor. |
Step 1: Choose the Right Microgreen Seeds
Seed selection is the critical first step in your microgreen growing journey. Not all seeds are created equal – you want varieties specifically suited for microgreen production that will provide robust flavor and fast growth.
When selecting microgreen seeds, focus on organic seeds that have not been treated with fungicides. Look for varieties known for excellent microgreen performance such as radish, broccoli, sunflower, and pea shoots. These seeds have proven track records of producing tender, flavorful greens with quick germination times. Specialized microgreen seed varieties typically grow faster and offer more consistent results compared to standard garden seed packets.
Your seed selection will directly impact the quality of your microgreens. Choose seeds that are fresh, untreated, and specifically marketed for microgreen production to ensure the best possible harvest.
Pro tip: Purchase small quantities of multiple seed varieties to experiment and discover which microgreens you enjoy growing and eating most.
Here’s a quick comparison of popular microgreen varieties for beginners:
| Microgreen Variety | Growth Time (Days) | Flavor Profile | Nutritional Highlights |
|---|---|---|---|
| Radish | 7-10 | Spicy, crisp | Rich in Vitamin C |
| Broccoli | 7-14 | Mild, fresh | High in sulforaphane |
| Sunflower | 10-14 | Nutty, crunchy | Good source of Vitamin E |
| Pea Shoots | 10-15 | Sweet, tender | High in protein, Vitamin A |
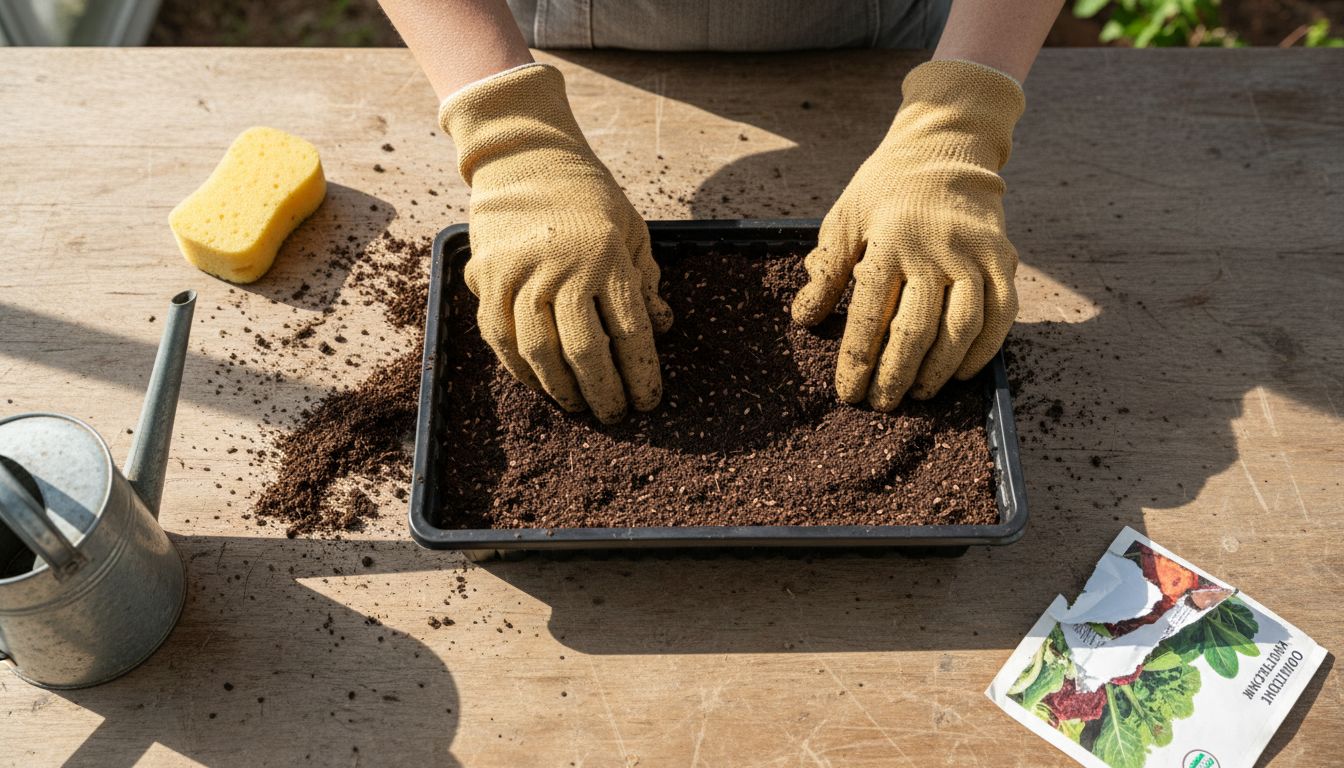
Step 2: Prepare Trays and Select Growing Medium
Preparing the right growing environment is crucial for successful microgreen production. You will need the proper trays and growing medium to create an optimal foundation for your tiny green crops.
Shallow trays with drainage holes are essential for preventing waterlogging and promoting healthy microgreen growth. Choose containers that are approximately 2 inches deep with small holes to allow excess moisture to escape. For the growing medium, select a specialized mix that does not contain traditional garden soil. A potting medium combining peat, perlite, and vermiculite provides excellent aeration and drainage, which is critical for microgreen development.
Spread your chosen growing medium evenly across the tray, creating a smooth surface about 1 to 1.5 inches deep. Gently press the medium down to create a firm but not compacted surface that will support seed germination and root growth. Ensure the medium is clean, sterile, and free from any debris that could interfere with seed development.
Pro tip: Moisten the growing medium before planting seeds, but avoid making it waterlogged. The medium should feel like a wrung-out sponge – damp but not dripping wet.
Step 3: Sow Seeds Evenly and Water Properly
The success of your microgreen crop depends on precise seed sowing and careful watering techniques. Your goal is to create an ideal environment for seed germination and early growth.
After spreading seeds across the moist growing medium, gently press them into the surface to ensure good seed-to-soil contact. Aim for an even distribution, covering the tray with a dense but not overcrowded layer of seeds. Different microgreen varieties might require slightly different seeding densities, so check the specific recommendations for your chosen seeds. The key is creating a uniform layer that allows each seed space to sprout and grow.
Use a fine mist spray to water your newly sown seeds, which helps maintain moisture without displacing the delicate seeds. Avoid using a heavy stream of water that could wash away or bury your seeds. Keep the growing medium consistently damp but not waterlogged. A spray bottle works perfectly for this delicate task, allowing you to control water distribution precisely.
Pro tip: Cover your seeded tray with a clear plastic dome or lid to create a humid microclimate that accelerates germination and helps maintain consistent moisture levels.
Step 4: Provide Ideal Light and Temperature
Creating the perfect environment for your microgreens involves carefully managing light and temperature to support healthy growth and rapid development. Your goal is to mimic the optimal conditions these tiny plants need to thrive.
Place your microgreen trays in a location with consistent temperatures between 65°F and 75°F, which provides the ideal range for most varieties to germinate and grow quickly. If natural indoor temperatures fluctuate, consider using a heat mat or placing trays in a consistently warm area of your home. Light is equally crucial for microgreen development.
Position your trays near a sunny south-facing window or invest in grow lights to ensure they receive adequate illumination. Most microgreens require about 4 to 6 hours of bright, indirect light daily. Artificial grow lights can be an excellent alternative if natural light is limited, allowing you to control light exposure precisely. Watch for signs of light stress such as leggy growth or pale coloration, which indicate your microgreens need adjustments in their light environment.
Pro tip: Rotate your microgreen trays every few days to ensure even light exposure and prevent uneven growth patterns.
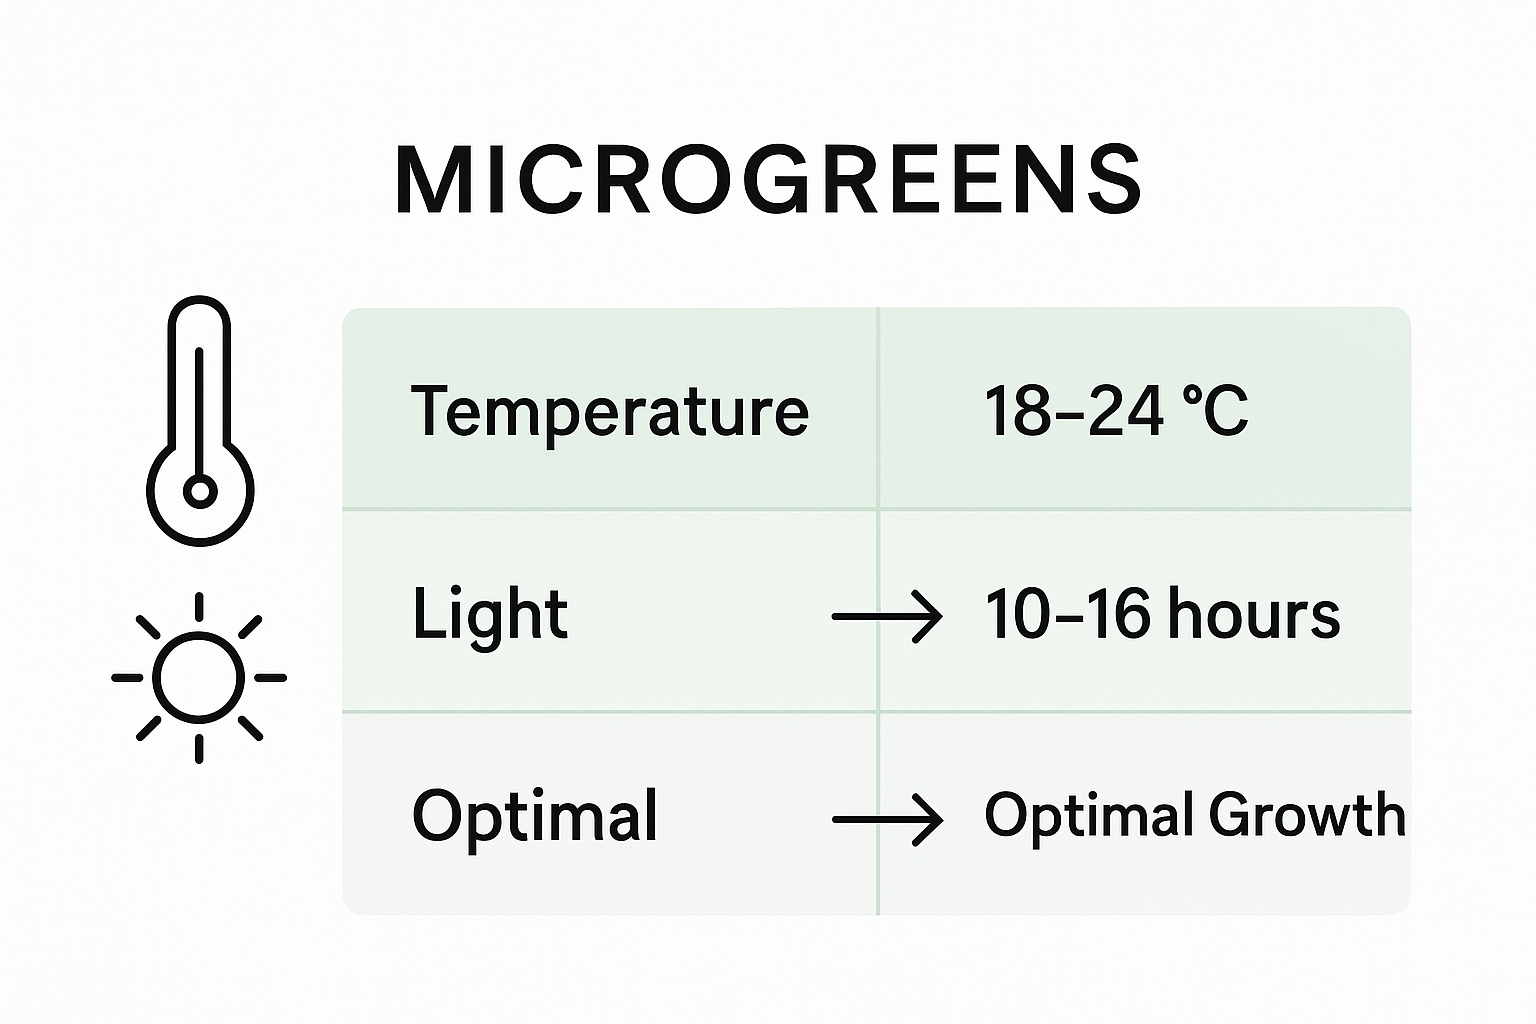
The following table summarizes the ideal growing conditions for microgreens:
| Condition | Recommended Range | Importance for Growth |
|---|---|---|
| Temperature | 65°F to 75°F | Ensures uniform germination |
| Light | 4-6 hours, indirect | Prevents leggy, pale seedlings |
| Humidity | Moderate, covered tray | Supports fast, even sprouting |
| Moisture | Damp, never soggy | Promotes healthy root formation |
Step 5: Harvest and Enjoy Fresh Microgreens
The moment you’ve been waiting for has arrived – harvesting your homegrown microgreens and transforming them into delicious, nutritious meals. Understanding the right timing and technique will ensure you capture peak flavor and nutritional value.
Microgreens are typically ready to harvest between 7 and 21 days after sowing, with the perfect moment determined by the appearance of the first true leaves. Use clean, sharp scissors to cut the microgreens just above the soil line, which allows for a precise and clean harvest without disturbing the growing medium. Harvest your microgreens when the first true leaves emerge to maximize flavor and nutritional content, which is typically when the plants are 1 to 3 inches tall.
Once harvested, rinse your microgreens gently under cool water and pat them dry with a clean paper towel. Store them in a sealed container in the refrigerator and consume within 5 to 7 days for optimal freshness. Microgreens are incredibly versatile – sprinkle them on salads, sandwiches, soups, or use them as a vibrant garnish to add a burst of flavor and nutrition to your favorite dishes.
Pro tip: Cut only the amount of microgreens you plan to use immediately to maintain maximum freshness and prevent wilting.

Unlock Your Microgreen Growing Success with Lushy Gardens
Growing microgreens at home naturally can be challenging when you are searching for the right seeds, proper planting techniques, and ideal growing conditions. The article highlights common struggles such as seed selection, achieving consistent moisture, and providing sufficient light and temperature. If you want to avoid guesswork and watch your microgreen crops thrive, you need trusted tips and clear advice that simplify each step.
At Lushy Gardens, you will find a treasure trove of practical Gardening Tips that support your microgreen journey from seed to harvest. Our guides focus on easy-to-follow methods that help beginners and seasoned gardeners alike. Explore expert insights on soil preparation, watering, and lighting so you can nurture vibrant, flavorful microgreens at home. Begin your garden transformation today by visiting Lushy Gardens for the best resources on plant care and indoor gardening. Ready to grow your green thumb with confidence? Discover more in our Seasonal Gardening section and turn your kitchen space into a fresh food haven.
Frequently Asked Questions
How do I choose the right microgreen seeds for growing at home?
Selecting the right microgreen seeds is essential for successful growth. Focus on organic seeds specifically marketed for microgreen production, such as radish, broccoli, sunflower, and pea shoots, to ensure robust flavor and quick germination.
What type of trays and growing medium should I use for microgreens?
Use shallow trays with drainage holes to promote healthy growth and prevent waterlogging. Opt for a specialized growing medium that mixes peat, perlite, and vermiculite, ensuring good aeration and drainage for your microgreens.
How should I sow seeds and water my microgreens?
Sow seeds evenly across the growing medium and gently press them into the surface for good contact. Water the seeds using a fine mist spray to keep the medium consistently damp—avoid overwatering to prevent displacing your delicate seeds.
What are the ideal light and temperature conditions for microgreens?
Maintain temperatures between 65°F and 75°F for optimal growth, and provide 4 to 6 hours of bright, indirect light daily. Position your trays near a sunny window or use grow lights to support healthy microgreen development.
When is the best time to harvest microgreens?
Microgreens are typically ready to harvest between 7 and 21 days after sowing, marked by the appearance of the first true leaves. Use clean scissors to cut them just above the soil line for a fresh and flavorful addition to your meals.
How should I store my harvested microgreens for maximum freshness?
After harvesting, gently rinse your microgreens under cool water and pat them dry. Store them in a sealed container in the refrigerator, and aim to consume them within 5 to 7 days for the best quality and flavor.
Recommended
- Master Vegetable Gardening Indoors: Grow Fresh Produce at Home – Lushy Gardens
- Understanding Beginner Greenhouse Gardening Concepts – Lushy Gardens
- Growing Vegetables in Pots: A Step-by-Step Success Guide – Lushy Gardens
- Understanding Vegetable Gardening for Beginners: Key Concepts – Lushy Gardens
- 6 Herbs You Can Grow In Water for Busy Families – It’s a Southern Life Ya’ll

I’m Eleanor, a seasoned gardener with over three decades of experience tending to Mother Nature’s creations. Through Lushy Gardens, I aim to share my wealth of knowledge and help fellow plant enthusiasts uncover the wonders of gardening. Let’s dive into this journey together, one leaf at a time.


