
Table of Contents
Have you noticed your indoor plants looking tired despite regular watering and care? The culprit is often root-bound conditions or depleted soil nutrients limiting growth. Repotting houseplants provides fresh potting medium and space for root expansion, ensuring access to nutrients and moisture for continued growth. This guide will teach you exactly when and how to repot houseplants effectively, giving your green companions room to thrive.
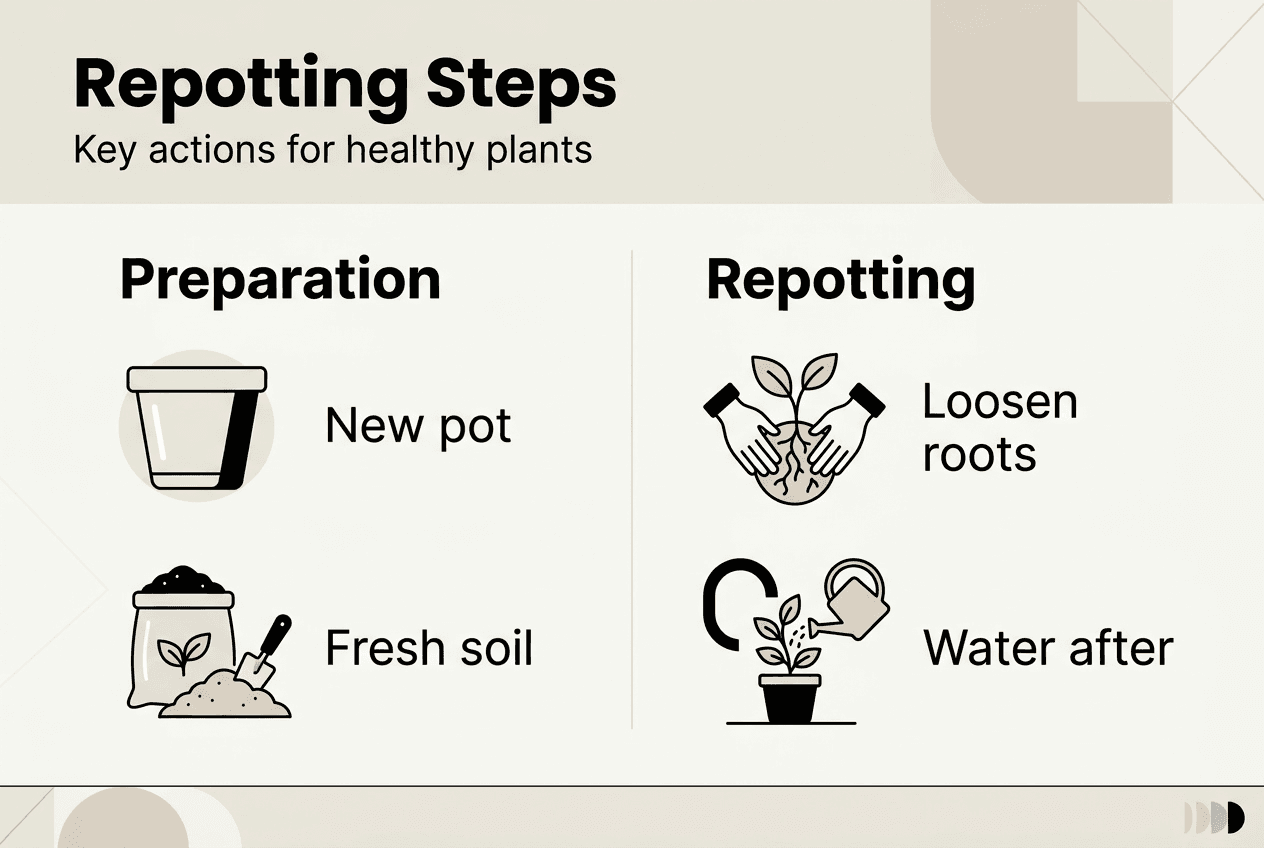
Key takeaways
| Point | Details |
|---|---|
| Repotting revitalizes plants | Fresh soil and expanded root space promote healthier growth and stronger plants. |
| Watch for root-bound signs | Roots emerging from drainage holes or frequent watering needs indicate repotting time. |
| Size matters for new pots | Choose containers 1-2 inches larger in diameter to prevent root rot risks. |
| Pre-repotting preparation reduces stress | Water plants 1-2 days before repotting to minimize transplant shock and ease removal. |
| Root care is essential | Trim damaged roots and maintain consistent root crown depth for optimal recovery. |
When and why to repot houseplants
Understanding when your houseplants need repotting saves you from watching them struggle unnecessarily. Root-bound plants, indicated by roots circling drainage holes or the soil surface, require repotting to continue thriving. You might also notice your plant needs watering more frequently than before, or growth has slowed to a crawl despite proper care.
These signs point to a plant that has exhausted its current growing space and soil resources. Repotting provides critical physiological benefits affecting water retention, nutrient uptake, oxygen availability to roots, and long-term structural stability. Without adequate space, roots cannot access the oxygen and moisture they need, leading to weaker growth and increased vulnerability to pests and diseases.
Key indicators your houseplant needs repotting:
- Roots visibly emerging from drainage holes or pushing up through the soil surface
- Water runs straight through the pot without being absorbed properly
- Plant growth has noticeably slowed or stopped entirely
- Soil dries out unusually fast, requiring watering every day or two
- The plant appears top-heavy and unstable in its current container
Timing matters significantly for repotting success. Most houseplants benefit from repotting every 1-2 years, but this varies by species and growth rate. Fast-growing plants like pothos or spider plants may need annual repotting, while slow-growers like snake plants can go 2-3 years comfortably.
Pro Tip: Avoid repotting during winter when most houseplants enter dormancy. Spring offers ideal conditions as plants naturally enter their active growth phase, helping them recover faster from transplant stress.
Ignoring repotting needs eventually leads to circling roots that strangle themselves, creating a dense mat that prevents water and nutrients from reaching the plant’s core. For more foundational knowledge on caring for your indoor green friends, explore our houseplants beginner care tips guide.
Preparing for repotting: what you need and how to prep your plant
Proper preparation makes repotting smoother and less stressful for both you and your plant. Select a new container 1-2 inches larger in diameter than the current pot to provide adequate room without overwhelming the root system. Choosing a pot that’s too large creates problems because excess soil retains moisture the roots cannot absorb, increasing root rot risk and actually slowing growth.
Water your plant 1-2 days before repotting to minimize transplant shock and make the root ball easier to remove. This pre-watering strategy helps roots stay flexible and less prone to breaking during the transition. Dry soil crumbles away too easily, potentially damaging delicate root structures, while overly wet soil becomes heavy and messy.
Essential materials and preparation:
- Clean new pot with drainage holes (never use containers without drainage)
- Fresh, appropriate potting soil for your plant type
- Clean pruning shears or scissors sterilized with rubbing alcohol
- Gardening gloves to protect your hands
- Small trowel or spoon for adding soil
- Newspaper or drop cloth to protect your workspace
Check that your new pot has adequate drainage holes at the bottom. Never add gravel, rocks, or pottery shards at the bottom of pots, despite common myths suggesting this improves drainage. This practice actually creates a perched water table that traps moisture and increases root rot risk rather than preventing it.
| Material | Purpose | Key Consideration |
|---|---|---|
| New pot | Provides expanded root space | 1-2 inches larger diameter only |
| Fresh potting soil | Supplies nutrients and proper drainage | Match soil type to plant species |
| Pruning shears | Removes damaged or circling roots | Must be clean and sterilized |
| Watering (pre-repot) | Reduces transplant shock | Done 1-2 days before, not same day |
| Gloves | Protects hands from soil and irritants | Essential for plants with sap |
Pro Tip: Lay newspaper or a plastic sheet around your work area before starting. This simple step makes cleanup infinitely easier and prevents soil from staining floors or carpets.
For guidance on selecting the right pot size accurately, check our detailed measuring plant pots guide. If you’re shopping for new containers, our indoor plant pots comparison can help you choose the best option for your specific plants.

Step-by-step guide to repotting your houseplant
Now that you’ve gathered materials and prepared your plant, follow these clear steps for successful repotting. Take your time and handle roots gently throughout the process.
- Remove the plant carefully: Turn the pot sideways and gently tap the sides to loosen the root ball. Support the plant’s base with one hand while sliding it out of the old pot with the other. If the plant resists, run a knife around the inside edge of the pot to release stuck roots.
- Inspect root health thoroughly: Examine roots closely once the plant is removed. Healthy roots should be firm and light in color; mushy, brown, or black roots should be trimmed. Use sterilized pruning shears to cut away any damaged, dead, or diseased root tissue cleanly.
- Loosen compacted roots: Tightly matted roots should be loosened or scored to encourage outward growth in the new pot. Gently tease apart circling roots with your fingers, or make 3-4 vertical cuts about 1 inch deep along the root ball surface if roots are severely tangled.
- Prepare the new pot: Add a layer of fresh potting soil to the bottom of the new container, enough so the plant will sit at the same depth it was in the original pot. The root crown (where stems meet roots) should end up level with the pot rim.
- Position the plant: Place your plant in the center of the new pot, holding it at the correct depth. Make sure it sits straight and centered before proceeding to the next step.
- Fill with fresh soil: Add potting soil around the root ball, working it in gently with your fingers to eliminate air pockets. Press soil lightly to provide support without compacting it too firmly, which can restrict oxygen flow to roots.
- Water thoroughly after repotting: Water the newly potted plant well until water drains from the bottom holes. This settles the soil around roots and provides immediate hydration after the stress of repotting.
- Allow recovery time: Place your repotted plant in a shaded or indirect light location for 1-2 weeks to minimize shock. Avoid fertilizing during this recovery period, as roots need time to establish before processing additional nutrients.
Pro Tip: Use a clean knife or your fingers to gently separate dense root mats rather than tearing them apart forcefully. This careful approach minimizes damage and promotes faster, healthier regrowth in the new pot.
For additional detailed techniques and natural repotting methods, visit our comprehensive step-by-step repotting guide for more expert insights.
Aftercare and common mistakes to avoid
Successful repotting doesn’t end when you finish adding soil. The weeks following repotting are critical for helping your plant establish in its new home and avoiding setbacks that compromise recovery.
Proper aftercare practices:
- Reduce watering frequency initially, as fresh soil retains moisture better than depleted old soil
- Maintain consistent lighting conditions matching what the plant received before repotting
- Keep temperature stable and avoid placing newly repotted plants near heating vents or drafts
- Monitor leaves daily for signs of shock like yellowing, wilting, or drooping
- Wait at least 4-6 weeks before fertilizing to prevent root burn on stressed roots
Overwatering ranks as the most common mistake after repotting. Fresh potting soil holds significantly more moisture than the depleted, compacted soil your plant came from. Water only when the top inch or two of soil feels dry to the touch, not on a fixed schedule.
Repotting too often can be detrimental to houseplants. While repotting provides essential benefits, excessive or careless repotting causes unnecessary stress and can actually harm plant health and growth rather than helping it.
Avoid these critical mistakes:
- Repotting during dormant winter months when plants cannot recover efficiently
- Choosing dramatically oversized pots that dwarf the root system
- Burying the root crown deeper than its original depth, which invites stem rot
- Fertilizing immediately after repotting before roots have recovered
- Moving plants to drastically different light conditions right after repotting
Some leaf yellowing or dropping in the first 1-2 weeks is normal as plants adjust. However, extensive leaf loss, blackening stems, or a foul smell from soil indicates problems requiring immediate attention. Root rot from overwatering shows as mushy, dark stems and wilting despite wet soil.

If you notice concerning symptoms, check soil moisture levels first. Let soil dry out more between waterings if it feels constantly damp. For plants showing severe stress, you may need to remove them from the pot, inspect roots again, trim any newly damaged areas, and repot with drier soil.
For comprehensive guidance on maintaining your indoor plants year-round beyond just repotting, explore our indoor plant care basics guide for expert tips on watering, lighting, and seasonal care adjustments.
Explore more indoor gardening tips with Lushy Gardens
Mastering repotting is just one piece of creating a thriving indoor garden. Lushy Gardens offers extensive resources specifically designed for beginners and experienced plant lovers alike who want to deepen their gardening knowledge and skills.
Our gardening basics for beginners guide covers foundational concepts that help you understand plant needs beyond just repotting. Learn about soil composition, proper watering techniques, light requirements, and seasonal care adjustments that keep your plants healthy throughout the year.
For comprehensive plant maintenance strategies, our indoor plant care basics guide provides detailed advice on common challenges indoor gardeners face. Discover solutions for pest problems, nutrient deficiencies, and environmental stress factors that affect houseplant health.
Ready to expand your repotting expertise further? Our step-by-step repotting guide offers natural techniques and additional tips for specific plant varieties with unique needs.
Frequently asked questions
How often should I repot my houseplants?
Most houseplants benefit from repotting every 1-2 years, though timing depends on growth rate and root health. Fast-growing species like pothos may need annual repotting, while slow-growers like snake plants can wait 2-3 years. Repotting too often can be detrimental to houseplants, causing unnecessary stress and potentially inhibiting growth.
What size pot should I choose when repotting?
Select a pot 1-2 inches larger in diameter than the current container for optimal root growth. Pots that are too large hold excess moisture the roots cannot absorb, increasing root rot risk and actually slowing plant growth. The modest size increase provides adequate room without overwhelming the plant’s root system.
How can I tell if my plant is root-bound?
Look for roots circling drainage holes or pushing up through the soil surface as primary indicators. Plants that need watering every day or two, show stunted growth, or have water running straight through without absorption are often root-bound. These signs indicate the root system has exhausted available space and resources in its current pot.
Should I water my plant immediately after repotting?
Yes, water thoroughly right after repotting to settle soil around roots and provide immediate hydration. However, reduce watering frequency in the following weeks since fresh potting soil retains moisture much better than old, depleted soil. Check soil moisture before watering rather than following a fixed schedule during the recovery period.
Recommended
- How to Repot Plants for Healthy Growth: Step-by-Step Guide – Lushy Gardens
- Mastering Propagating Houseplants: A Complete Guide – Lushy Gardens
- Pruning Indoor Plants Naturally for Healthy Growth – Lushy Gardens
- Caring for Snake Plant: A Step-by-Step Guide to Healthy Growth – Lushy Gardens
- Compost – Nutrient-Rich Garden Mix Enhancer for Landscaping | ProZone

I’m Eleanor, a seasoned gardener with over three decades of experience tending to Mother Nature’s creations. Through Lushy Gardens, I aim to share my wealth of knowledge and help fellow plant enthusiasts uncover the wonders of gardening. Let’s dive into this journey together, one leaf at a time.


