
Table of Contents
Building your own raised garden beds is one of the most practical upgrades you can make to a home garden. A standard cedar bed, 4 feet wide and 12–18 inches deep, gives you better soil control, faster spring warmth, and far fewer weeds than in-ground planting. The whole project costs roughly between low and moderate cost levels in materials for a 4×8-foot bed and takes about three hours to build once your lumber is cut.
Here is what you get with a well-built raised bed:
- Improved drainage and soil quality — you fill with exactly the mix your plants need, bypassing clay or rocky native soil
- Warmer soil in spring — contained beds heat up faster, letting you plant peppers and cucumbers earlier
- Easier access — no stepping inside the bed means no soil compaction, and less bending for harvesting
- Pest and weed control — hardware cloth on the bottom blocks gophers; a clean soil mix starts nearly weed-free
- Customizable size — build to fit your yard, not the other way around
- Longer growing season — add hoops and row cover to extend planting into early spring and late fall
Skill level is genuinely beginner. If you can drive a screw and measure a board, you can build this. Plan for a few hours over a weekend to construct the frame, and some additional time to fill and plant.
What tools and materials do you need for a DIY raised garden bed?
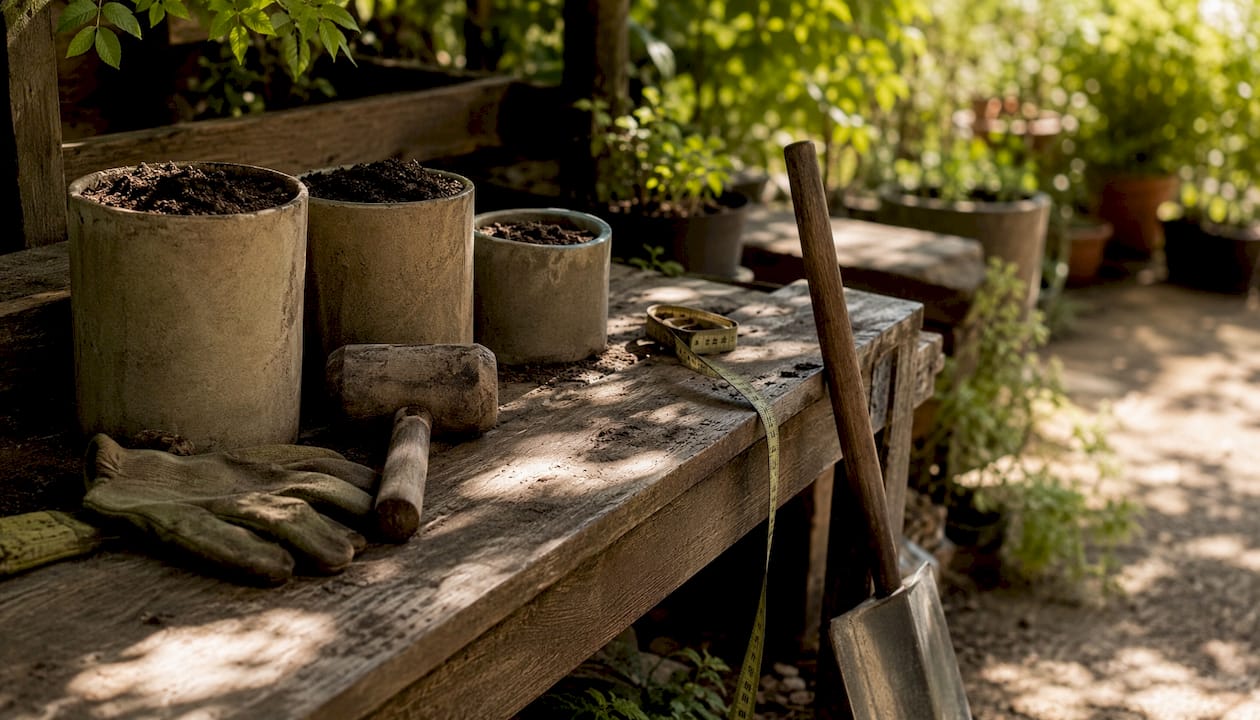
Get your shopping list together before you touch a single board. Walking into the lumber yard without a cut list wastes time and money.
Tools
- Cordless drill — the one tool you cannot skip
- Measuring tape and pencil for marking cuts
- Circular saw or miter saw — or skip it entirely and have the hardware store cut your boards (many locations offer cuts for free or a nominal fee)
- Staple gun with 3/8-inch staples for attaching hardware cloth
- Framing square (optional but helpful for keeping corners true)
- Safety glasses and gloves, especially when cutting mesh
Materials for a 4×8-foot bed
- Cedar boards sized for the frame’s long sides and short sides, cut or purchased to fit
- Cedar 4×4 posts cut into corner pieces
- Exterior deck screws, galvanized or stainless steel preferred
- Hardware cloth for bottom pest protection, optional but recommended in rodent-prone areas
- Landscape fabric for optional weed suppression
- Food-safe exterior oil or finish to protect the wood and extend its lifespan
One thing that trips up first-time builders:
Pro Tip: Cedar fence pickets are a budget-friendly alternative to standard cedar boards. A simple bed built from six pickets and a few 2×3 studs can cost as little as $30–$35 in lumber and still last well over a decade.
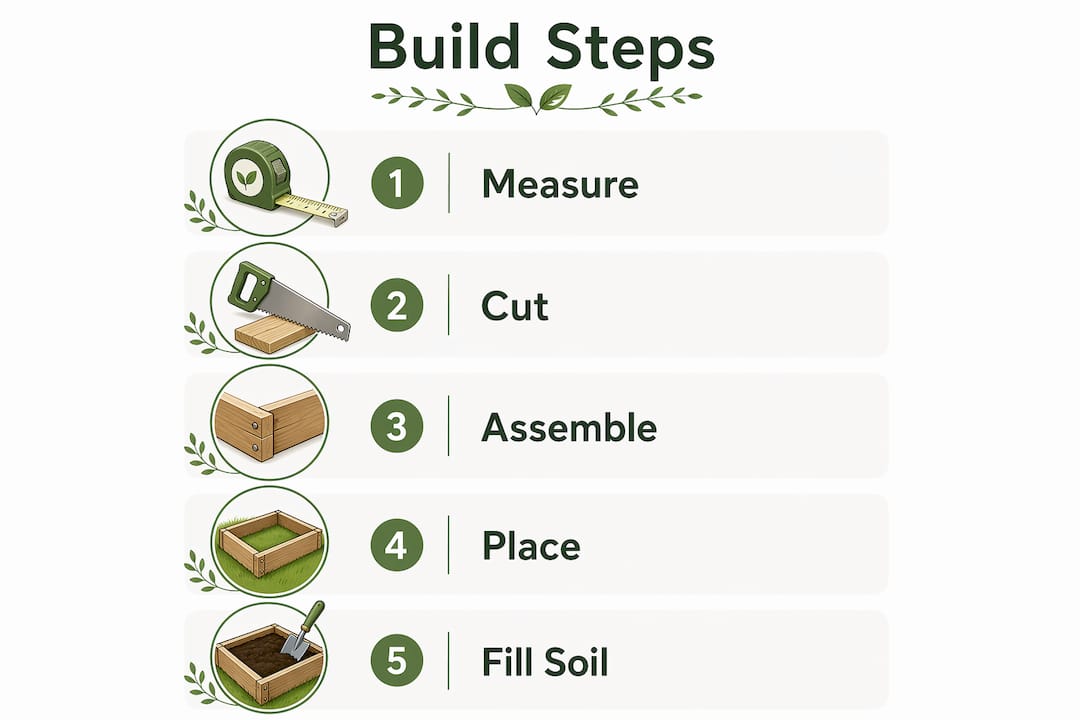
How do you build a wooden raised garden bed step by step?
Work through these steps in order. The whole frame goes together faster than most people expect.
- Cut your lumber. You need two boards at 96 inches (long sides), two boards at 45 inches (short sides), and four corner posts at 12 inches each from the 4×4. If you have a saw, double-check every measurement before cutting. If not, bring this list to the lumber counter.
- Pre-drill pilot holes. Cedar splits if you drive screws cold, especially near the ends of a board. Use a 1/8-inch drill bit to pre-drill every screw location before driving anything in. Plan on three screws per board into each corner post, so 12 pilot holes per corner, 48 total. Mark each hole with a pencil, about 3/4 inch in from the edge.
- Build the long sides first. Lay one 96-inch board flat on the ground. Stand a 12-inch corner post at each end, flush with the top edge. Drive three screws through the board into the post. Repeat for the second long side. Corner posts cut from 4x4s and secured to the long boards prevent bowing under soil pressure, which is the most common structural failure in DIY beds.
- Attach the short sides. Stand both long panels parallel, 45 inches apart. Slide a 45-inch board between them and screw it to the corner posts on both ends. Repeat at the other end. You now have a complete rectangular frame.
- Add hardware cloth to the bottom. Flip the frame upside down. Roll out 1/2-inch mesh hardware cloth across the bottom and staple it to the inside of the frame every 4 inches. Hardware cloth outperforms chicken wire here because it cannot be chewed through by rodents and does not rust out. Flip the bed right-side up when done.
- Choose your location. Fruiting vegetables like tomatoes, peppers, and cucumbers need 6–8 hours of direct sunlight daily. Leafy greens and herbs tolerate around 4 hours or less. A south-facing spot is ideal in the northern hemisphere. The ground below should be flat and level so water distributes evenly across the bed.
- Level the bed. Set the frame in its final spot and check all four sides with a level. Slide flat rocks or scrap cedar pieces under low corners. A bed that sits crooked drains crooked, and you will notice it every time you water.
- Add an optional liner. If you skipped the hardware cloth, staple landscape fabric inside the bottom edge to slow soil washout. Do not line the entire interior wall, though. You want roots to reach the native soil below.
- Fill with soil. A 4x8x12-inch bed needs about 32 cubic feet of fill, but if you want a standard 12–18 inch depth, adjust your soil volume calculation accordingly—it ranges from about 32 cubic feet at 12 inches deep to around 48 cubic feet at 18 inches deep. The lasagna layering method cuts costs significantly: put 4 inches of cardboard and wood chips on the bottom (free), 4 inches of compost or aged leaves in the middle (cheap), and 4 inches of quality bagged garden soil mixed with compost on top (about $50–$60). The bottom layers break down into rich organic matter over the first season.
Pro Tip: Before placing the bed, loosen the native soil underneath with a spading fork. This lets roots penetrate deeper and improves drainage from day one, at zero extra cost.
Expert tips for better raised bed gardening and maintenance
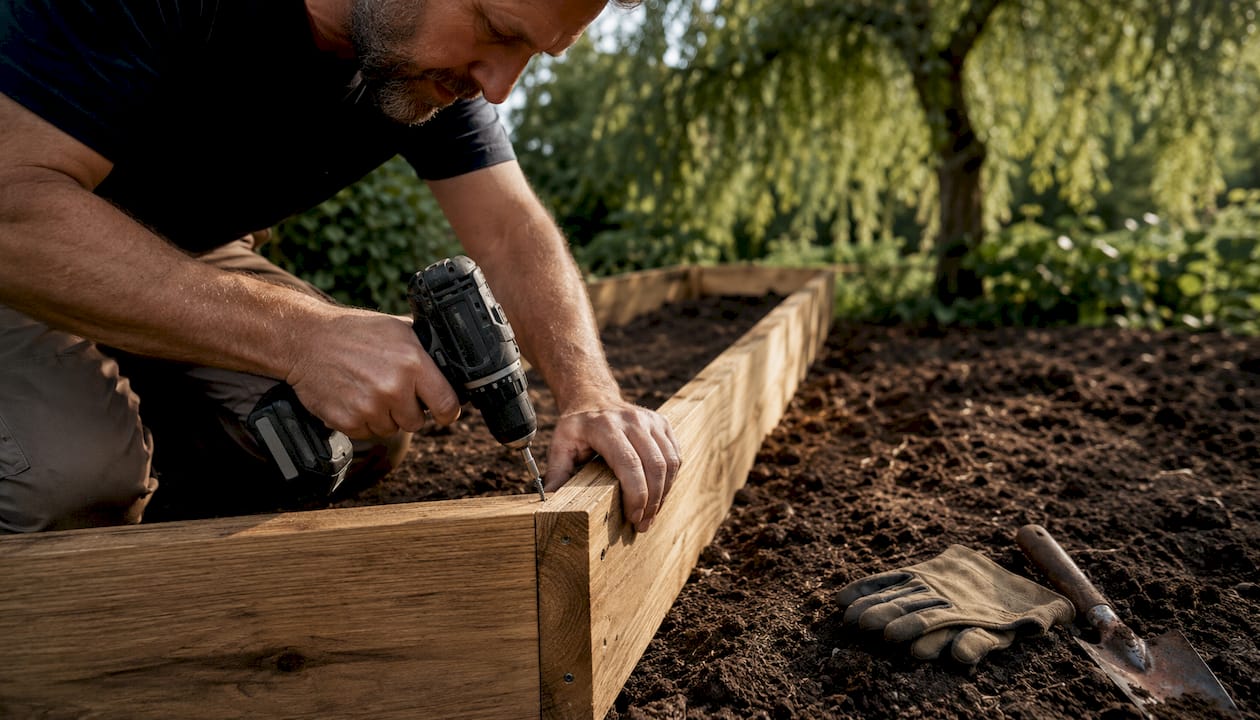
Getting the build right is only half the work. How you manage the bed after it goes in determines whether you harvest abundantly or fight problems all season.
Spacing and plant selection
Overcrowding is the most common mistake in raised beds. Indeterminate tomato plants need 18–24 inches of spacing to maintain air circulation and prevent rot. Crowd them and you will spend the summer fighting fungal disease instead of harvesting. For the best plants for a raised garden, match root depth to bed depth: lettuce, spinach, herbs, and radishes thrive in 6–8 inches; peppers, kale, and bush beans do well at 12 inches; tomatoes, carrots, and cucumbers want 18–24 inches. Check out Lushygardens’ guide on spacing vegetables in your garden for a full breakdown by crop.
Soil warmth and early planting
Raised beds warm up faster in spring than ground soil because the contained volume heats from all sides. That thermal advantage is real for warmth-loving crops like peppers and cucumbers, which stall in cold soil. You can push your planting date earlier than your neighbors with in-ground beds, especially if you add a simple hoop-and-row-cover setup over the frame.
Drainage and soil control
One of the core benefits of raised beds is the ability to bypass poor native soil entirely. If your yard has heavy clay, compacted fill, or rocky ground, none of that matters once you fill the frame with a loose, well-draining mix. Roots develop faster and deeper in friable soil than they ever would fighting through clay. For more on keeping drainage right, Lushygardens covers container drainage tips that apply directly to raised beds.
Maintenance and wood care
- Annual inspection: check corner joints for loosening screws and tighten or replace as needed each spring
- Re-oil the wood: applying a food-safe exterior oil once a year can push cedar’s lifespan well beyond a decade, according to experienced gardeners who have maintained beds for 15-plus years
- Weed control: start with a clean soil mix and lay cardboard under the bed to smother any weeds below; pull the few that appear early before they set seed
- Watering: raised beds dry out faster than in-ground gardens, especially in summer; check soil moisture daily in the first few weeks and consider a drip line set 2 inches deep for consistent moisture without wetting foliage
- Pest management: the hardware cloth bottom handles burrowing pests; for above-ground insects, add a lightweight mesh cover frame over the bed during seedling stage
Pro Tip: For beds longer than 6 feet, add a galvanized steel mending brace at the midpoint of each long side. It prevents the boards from bowing outward under soil pressure, which is a slow-motion failure that most builders only notice after the first heavy rain.
For moveable beds suited to renters or patio gardeners, build the same frame on four locking caster wheels rated for at least 300 pounds each. A loaded 3×6-foot bed at 12 inches deep can weigh around 900 pounds wet, so that weight rating matters.
Ready to build your raised bed this weekend?
The case for building your own raised garden bed comes down to a few things: better soil, better access, and a structure sized exactly for your space. Cedar and galvanized screws give you a frame that lasts 10-plus years with basic annual care. A 4-foot width keeps every plant reachable without stepping inside, and a depth of 12–18 inches supports nearly every vegetable you would want to grow.
Here is what to take away before you head to the lumber yard:
- Choose cedar for its natural rot resistance and food safety; redwood is a solid alternative on the West Coast
- Keep width at 4 feet or less so you can reach the center from either side without compacting the soil
- Pre-drill every pilot hole with a 1/8-inch bit to prevent splitting, especially near board ends
- Use galvanized or stainless deck screws and 4×4 corner posts for a frame that holds its shape under soil weight
- Place the bed in at least 6 hours of direct sun for fruiting crops; leafy greens tolerate less
- Fill smart: the lasagna layering method cuts soil costs while building long-term fertility
- Add hardware cloth to the bottom if burrowing pests are a concern in your area
A motivated weekend morning gets the frame built. Additional time is needed for filling, leveling, and planting. If you are just getting started with gardening overall, Lushygardens’ complete beginner gardening guide covers everything from soil basics to crop selection in one place.
Key Takeaways
Building a DIY raised garden bed with cedar, galvanized screws, and a 4-foot-wide frame delivers durable, productive growing space for under $150 in materials.
| Point | Details |
|---|---|
| Ideal dimensions | Keep width at 4 feet for reachability; build 12–18 inches deep to support most vegetable root systems. If using stacked 2×6 boards (actual height 11 inches), adjust soil depth calculation as needed. |
| Best materials | Use cedar lumber with galvanized or stainless deck screws; pre-drill 1/8-inch pilot holes to prevent splitting. |
| Pest prevention | Staple 1/2-inch hardware cloth to the bottom before filling to block gophers, voles, and moles. |
| Smart soil filling | Use the lasagna layering method to cut fill costs to about $50–$60. |
| Sun and spacing | Place beds in 6–8 hours of direct sun; space indeterminate tomatoes 18–24 inches apart to prevent disease. |
Recommended
- 7 Essential Raised Bed Gardening Tips for Beginners – Lushy Gardens
- Benefits of Raised Beds: Complete Gardening Guide – Lushy Gardens
- Benefits of Raised Beds: Complete Gardening Guide – Lushy Gardens
- What Is Raised Bed Gardening? A Beginner’s Guide – Lushy Gardens

I’m Eleanor, a seasoned gardener with over three decades of experience tending to Mother Nature’s creations. Through Lushy Gardens, I aim to share my wealth of knowledge and help fellow plant enthusiasts uncover the wonders of gardening. Let’s dive into this journey together, one leaf at a time.


