
Table of Contents
Struggling with stubborn soil and underwhelming harvests can leave any North American beginner feeling frustrated. Good soil is the secret behind healthy vegetables and vibrant gardens. By focusing on drainage and structure, you lay the groundwork for lasting plant success. This guide walks you through simple steps to assess, clear, improve, and test your soil so future crops thrive and your gardening confidence grows.
Quick Summary
| Key Point | Explanation |
|---|---|
| 1. Assess Soil Before Planting | Evaluate type, quality, and drainage to set a solid foundation for plant health. |
| 2. Remove Competing Vegetation | Clear weeds and debris to reduce competition for nutrients, water, and light. |
| 3. Improve Soil with Amendments | Add compost and organic matter to enhance nutrient availability and soil structure. |
| 4. Test Soil Readiness | Check temperature, moisture, and structure to ensure conditions are optimal for planting. |
| 5. Timing is Key for Amendments | Apply amendments at least two weeks before planting for effective integration into the soil. |
Step 1: Assess Soil Type and Quality
Before you plant anything, you need to understand what you’re working with. Assessing your soil type and quality sets the foundation for healthy plant growth and saves you time and money down the road.
Start by examining your soil’s physical characteristics. Grab a handful of moist soil and squeeze it in your palm. Does it clump together tightly? That’s clay. Does it fall apart immediately? That’s sand. Does it hold together loosely and crumble? You have loam, which is ideal for most vegetables.
Next, evaluate your soil’s drainage and structure. Poor drainage leads to root rot and plant disease. Dig a hole about 12 inches deep, fill it with water, and observe how quickly it drains. If water disappears within 1-2 hours, drainage is good. If it takes longer than 4 hours, you have drainage issues that need addressing.
You should also check for soil compaction and aeration. Press a metal rod or sturdy screwdriver into the soil. If it penetrates easily, your soil is well-aerated. If you meet strong resistance, compaction is limiting root development. Loose, well-aerated soil with good drainage supports better nutrient uptake and root development.
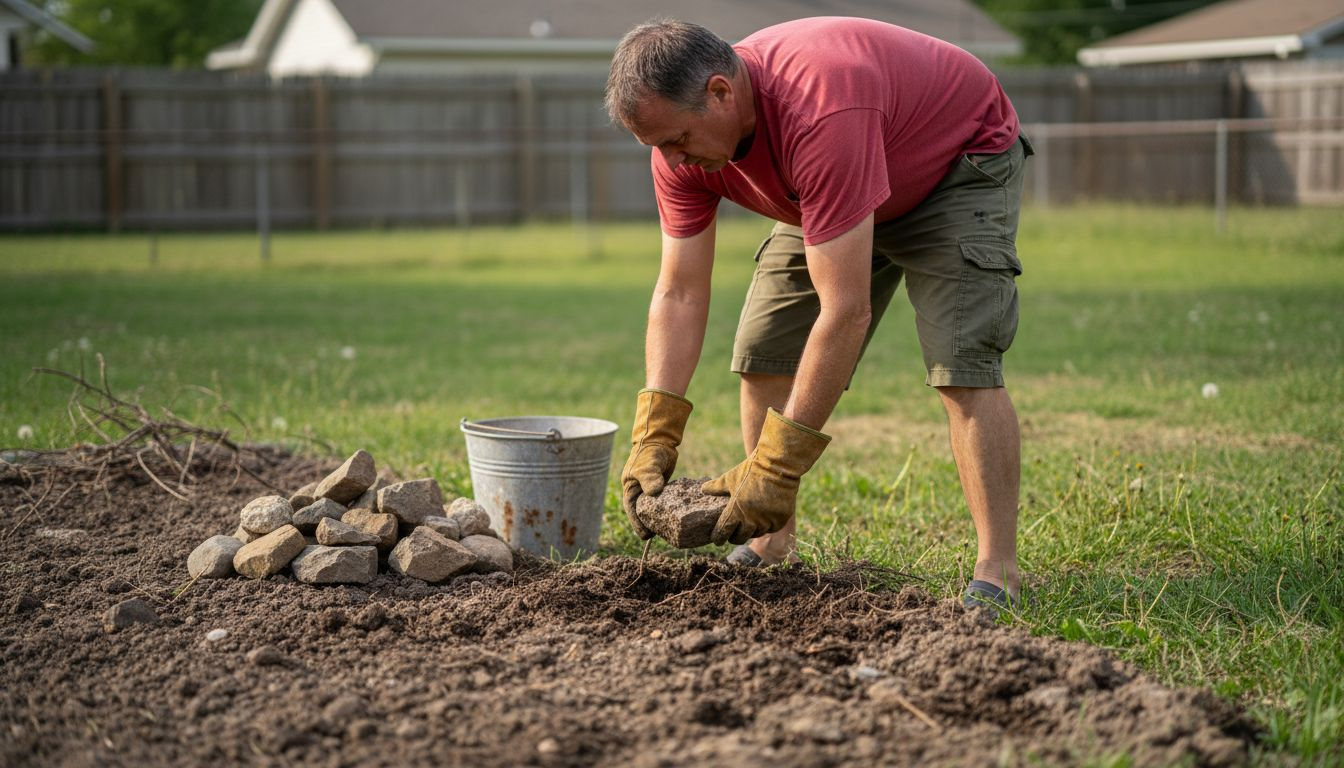
Examine your existing vegetation and debris. Competing plants steal nutrients and water from your vegetables. Remove weeds, old plant material, and stones before planting.
Soil assessment determines which preparation techniques you’ll need to apply and prevents costly mistakes later in the growing season.
Consider getting a professional soil test done. Testing reveals your soil’s pH level, nutrient content (nitrogen, phosphorus, potassium), and organic matter percentage. Many local cooperative extension offices offer affordable tests. Proper soil testing gives you precise data for targeted amendments.
Here’s what to look for during your assessment:
- Texture and composition (clay, sand, silt, or loam percentage)
- Drainage rate (fast, moderate, or slow)
- Compaction level (whether roots can penetrate easily)
- Organic matter content (visible decomposed material or dark color)
- pH level (neutral, acidic, or alkaline)
- Existing vegetation (weeds or plants competing for resources)
Pro tip: Save time by testing your soil in fall if you’re planning spring planting; this gives you months to amend and improve conditions before the growing season begins.
Here’s a quick comparison of common soil types and their impact on vegetable gardening:
| Soil Type | Water Retention | Nutrient Availability | Recommended Actions |
|---|---|---|---|
| Clay | High, drains slowly | Rich but hard for roots | Add compost, sand for drainage |
| Sand | Low, drains quickly | Low, leaches nutrients | Mix in organic matter, mulch |
| Silt | Moderate retention | Moderate nutrients | Add compost, avoid compaction |
| Loam | Balanced retention | High, best for plants | Maintain with compost annually |
Step 2: Clear and Loosen the Planting Area
Once you understand your soil, it’s time to prepare the physical space. Clearing vegetation and loosening compacted soil creates an ideal environment for plant roots to establish and thrive.
Start by removing all competing vegetation. Pull out weeds, grasses, and brush from your planting area. These plants compete aggressively for water, nutrients, and sunlight that your vegetables need. Clearing vegetation reduces competition and improves overall planting success by eliminating unwanted plant pressure.
Remove surface debris as well. Rocks, dead wood, and old mulch should be taken out before you begin loosening the soil. This gives you a clean slate to work with.
Next, loosen the soil thoroughly. Use a garden fork, spade, or tiller to break up compacted earth. Work the soil to a depth of 8 to 12 inches, depending on what you’re planting. Vegetables need loose soil to allow roots to penetrate easily and access nutrients and water.
Work the soil when it’s slightly moist, not waterlogged. Wet soil compacts when worked; dry soil is hard to break apart. Squeeze a handful and it should crumble gently rather than form a tight ball.
Loosening soil by just 6 inches can double root penetration and dramatically improve plant establishment and growth rates.
Consider using a garden spade or tiller for large areas. For smaller beds, a hand fork works well. As you loosen soil, break up large clumps so the final texture is even and crumbly throughout.
If your soil is extremely compacted, you may need multiple passes. Don’t rush this step. Proper soil loosening prevents stunted root growth and poor water drainage later.
Here’s what to focus on during this phase:
- Remove all surface vegetation (weeds, grasses, brush)
- Clear rocks and debris (wood, old mulch, stones)
- Loosen soil 8 to 12 inches deep (use fork or tiller)
- Break apart large clumps (create even texture)
- Check soil moisture (slightly moist, not wet)
- Work systematically (cover entire planting area evenly)
Pro tip: Add organic matter like compost while loosening the soil so it integrates thoroughly, saving you a step and improving soil structure immediately.
Step 3: Improve Soil with Amendments
Now that your soil is loose and clear, it’s time to enrich it. Adding amendments transforms average soil into nutrient-rich growing medium that supports vigorous plant development and long-term soil health.
Start with organic matter like compost. This is the most accessible and effective amendment for home gardeners. Compost adds nutrients, improves water retention, and enhances soil structure all at once. Spread 2 to 4 inches of quality compost across your planting area and work it into the top 6 to 8 inches of soil.
If you don’t have homemade compost, purchase bags from your local garden center. Look for dark, crumbly, earthy-smelling material. The difference between soil and compost matters because compost is richer in organic matter and beneficial microbes.
Consider adding aged manure for additional nitrogen. Chicken, horse, or cow manure that’s been composted for at least 6 months won’t burn your plants. Mix it thoroughly with the soil so it distributes evenly.
Amendments like compost and manure improve water retention, aeration, and nutrient availability while supporting healthy root development. These additions feed both your plants and soil microorganisms.
You can also incorporate other amendments based on your soil test results. If your soil lacks nitrogen, add a balanced fertilizer or fish emulsion. If phosphorus is low, bone meal works well. Potassium deficiency calls for wood ash or kelp meal.
Rich soil creates strong plants that resist disease, tolerate stress better, and produce heavier yields.
Mix amendments thoroughly into the loosened soil. Don’t just layer them on top. Work everything together so your planting bed has uniform, enriched soil from top to bottom.
Here’s what amendments accomplish in your garden:
- Add nutrients (nitrogen, phosphorus, potassium)
- Improve water retention (compost acts like a sponge)
- Boost microbial activity (living soil feeds plants better)
- Enhance soil structure (better drainage and aeration)
- Support long-term fertility (organic matter sustains growth seasons)
Pro tip: Apply amendments at least 2 weeks before planting so they can integrate into the soil and microbes can begin breaking them down, maximizing their benefits for your seedlings.
Reference guide for common soil amendments and their primary benefits:
| Amendment | Main Nutrient(s) | Best Used For | Precaution |
|---|---|---|---|
| Compost | Balanced | Improving structure | Use well-rotted only |
| Aged Manure | Nitrogen | Boosting leafy growth | Avoid fresh manure |
| Bone Meal | Phosphorus | Improving root growth | Use in moderation |
| Wood Ash | Potassium | Enhancing fruit yield | Raises soil pH |
Step 4: Test Soil Readiness for Planting
Before you plant your first seed, verify that your soil is truly ready. Testing soil readiness ensures your amendments have integrated properly and conditions are optimal for germination and growth.
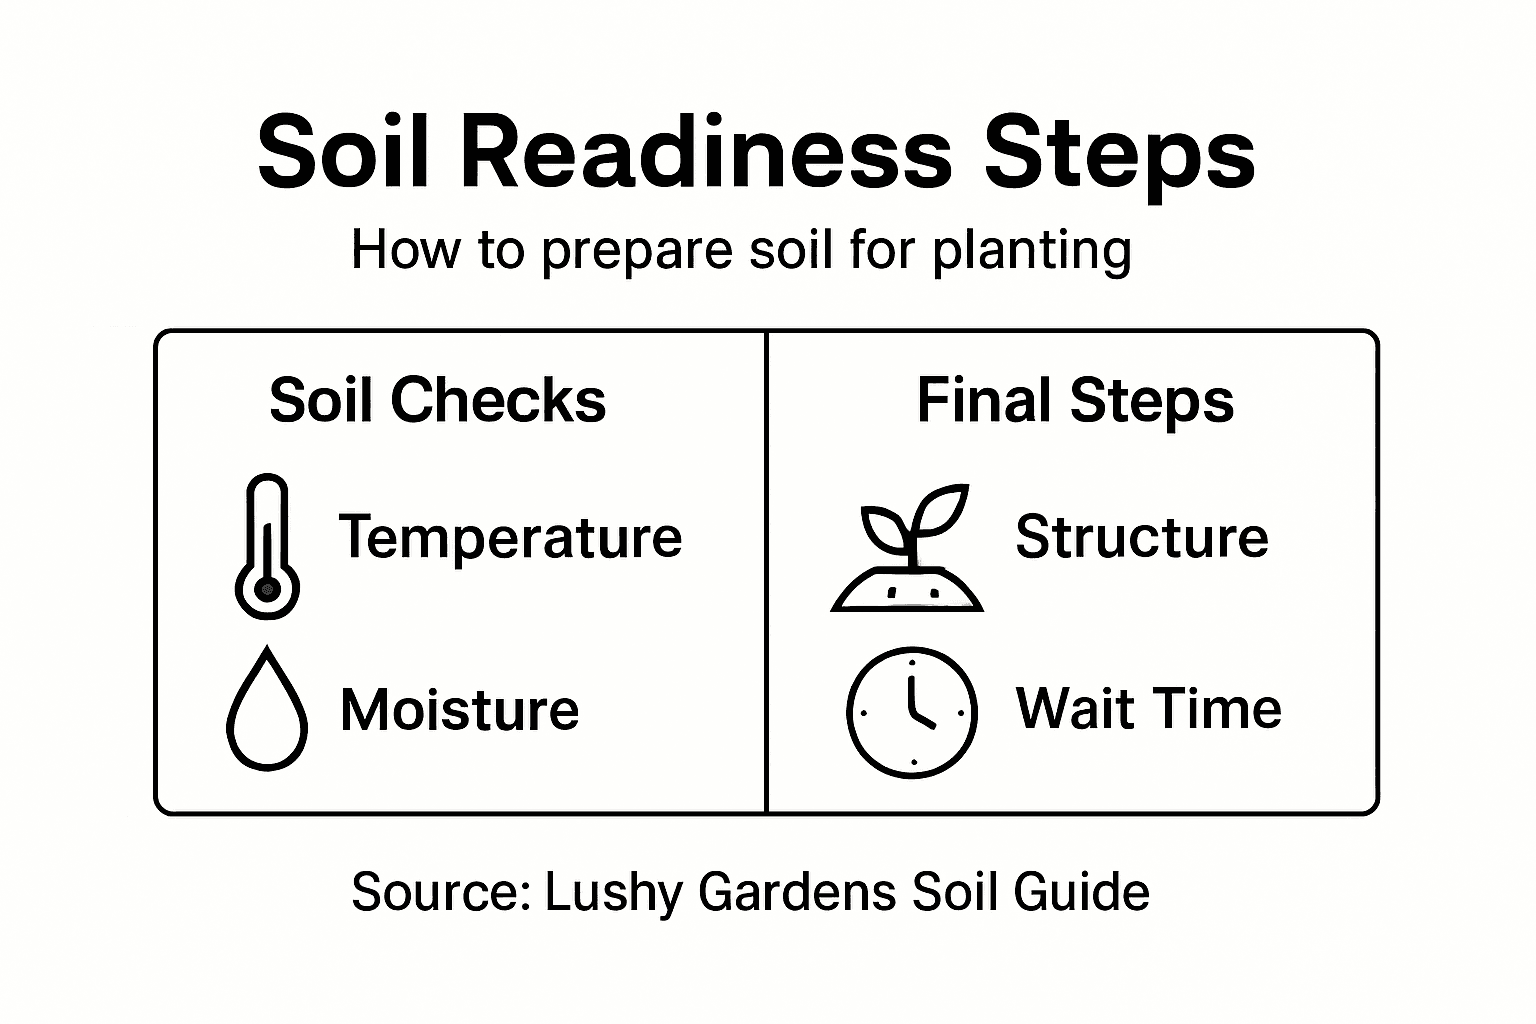
Start by checking soil temperature. Most vegetables need soil that’s at least 50 degrees Fahrenheit, though warm-season crops like tomatoes and peppers prefer 60 degrees or warmer. Use a soil thermometer to measure temperature 4 inches deep in your planting bed. Test in the morning for the most accurate reading.
Wait at least 2 weeks after adding amendments before planting. This allows compost and manure to break down and integrate fully. Microorganisms need time to process organic matter and make nutrients available to plant roots.
Perform a simple soil structure test. Grab a handful of moistened soil and squeeze it firmly, then open your hand. If it crumbles apart easily, structure is good. If it stays in a tight ball, you need more organic matter worked in.
Check soil moisture levels before planting. The soil should feel like a wrung-out sponge—moist but not waterlogged. If puddles form when you dig, drainage is still problematic. If soil is dust-dry and won’t hold together, water it thoroughly and wait a day.
Understanding soil quality for vegetables helps you recognize when conditions truly support healthy plant development. Look for dark color, pleasant earthy smell, and active soil life like earthworms and beetles.
Test your amendments distribution by digging several holes across the bed. You should see compost mixed throughout, not just on the surface. Uniform amendment integration prevents nutrient-poor patches.
Ready soil is dark, crumbly, warm enough for your crops, and packed with life—that’s when you’re truly prepared to plant.
Consider checking pH one more time with an inexpensive test kit. Most vegetables thrive between 6.0 and 7.0 pH. If yours is still off, add sulfur to lower pH or lime to raise it, then wait another week.
Here’s your final readiness checklist:
- Soil temperature (at least 50°F, preferably warmer)
- Amendments integrated (2+ weeks after application)
- Soil structure (crumbly when squeezed, not clumpy)
- Moisture level (damp sponge texture, not wet or dry)
- Drainage working (no standing water or hard compaction)
- Dark color and earthy smell (signs of healthy organic matter)
- Visible soil life (earthworms, beetles, microorganisms)
Pro tip: Plant your garden 3 to 5 days after rain or watering so soil moisture is perfect and you avoid compacting wet earth with your footsteps during planting.
Ready to Transform Your Soil for Vibrant Gardens
Struggling with compacted soil or unsure how to balance nutrients for your vegetable garden is a common challenge for many home gardeners. This article breaks down essential steps like assessing soil type, loosening planting areas, and enriching soil with amendments to help you achieve healthy growth easily. Understanding concepts such as soil drainage, organic matter, and soil structure are key to avoiding poor root development and improving plant yields.
Explore our Soil – Lushy Gardens category for more in-depth advice on soil improvement techniques. Want helpful tips on timing and preparation? Visit our Seasonal Gardening – Lushy Gardens section for practical guidance that fits your local climate and garden schedule. For daily gardening inspiration and expert insights, be sure to check out Gardening Tips – Lushy Gardens to keep your green thumb growing.
Take action now to build nutrient-rich, well-drained soil that gives your plants the strong start they need. Start your journey toward flourishing homegrown vegetables and vibrant outdoor spaces by visiting Lushy Gardens today and unlock the secrets to preparing soil like a pro.
Frequently Asked Questions
How do I assess my soil type before planting?
To assess your soil type, grab a handful of moist soil and squeeze it. If it clumps tightly, you have clay; if it falls apart, you have sand; and if it holds together loosely, you likely have loam, which is best for vegetables.
What should I do if my soil has drainage issues?
If your soil drains slowly, dig a hole, fill it with water, and check the drainage rate. If it takes more than four hours to drain, consider adding organic matter, sand, or using drainage tiles to improve water movement.
How deep should I loosen the soil for planting?
Loosen the soil to a depth of 8 to 12 inches, depending on what you’re planting. Use a garden fork, spade, or tiller to break up compacted soil, ensuring that the texture is even and crumbly throughout.
What types of amendments should I add to my soil?
Add organic matter like compost to enhance soil nutrients and structure. You can also mix in aged manure for nitrogen or bone meal for phosphorus, depending on your soil needs and test results.
How can I tell if my soil is ready for planting?
Check the soil temperature, moisture, and structure to determine readiness. Ensure the soil is at least 50 degrees Fahrenheit and has a crumbly structure, feeling like a wrung-out sponge, before planting.
What should I do to improve soil health long-term?
Regularly add organic amendments like compost at least once a year to maintain soil health. This practice not only enriches the soil but also supports beneficial microorganisms, enhancing nutrient availability for your plants.
Recommended
- How to Prepare Garden Beds Naturally for Healthy Plants – Lushy Gardens
- Understanding the Best Soil for Vegetables: Key Insights – Lushy Gardens
- 8 Essential Organic Gardening Tips for Beginners – Lushy Gardens
- Growing Plants from Cuttings: Easy Step-by-Step Success – Lushy Gardens
- How to Start a Home Garden Naturally for Fresh Produce – naturessoulshop

I’m Eleanor, a seasoned gardener with over three decades of experience tending to Mother Nature’s creations. Through Lushy Gardens, I aim to share my wealth of knowledge and help fellow plant enthusiasts uncover the wonders of gardening. Let’s dive into this journey together, one leaf at a time.


