
Table of Contents
Getting your garden ready for spring means rolling up your sleeves and setting the stage for a healthy, productive season. Every gardener knows that clearing debris and weeds creates fertile, pest-resistant beds that support strong plant growth from the start. By focusing on the basics from soil testing to garden bed layout, you set yourself up for lush harvests while keeping common spring setbacks in check. These proven tips will help you start your season with confidence and clarity.
Quick Summary
| Main Insight | Explanation |
|---|---|
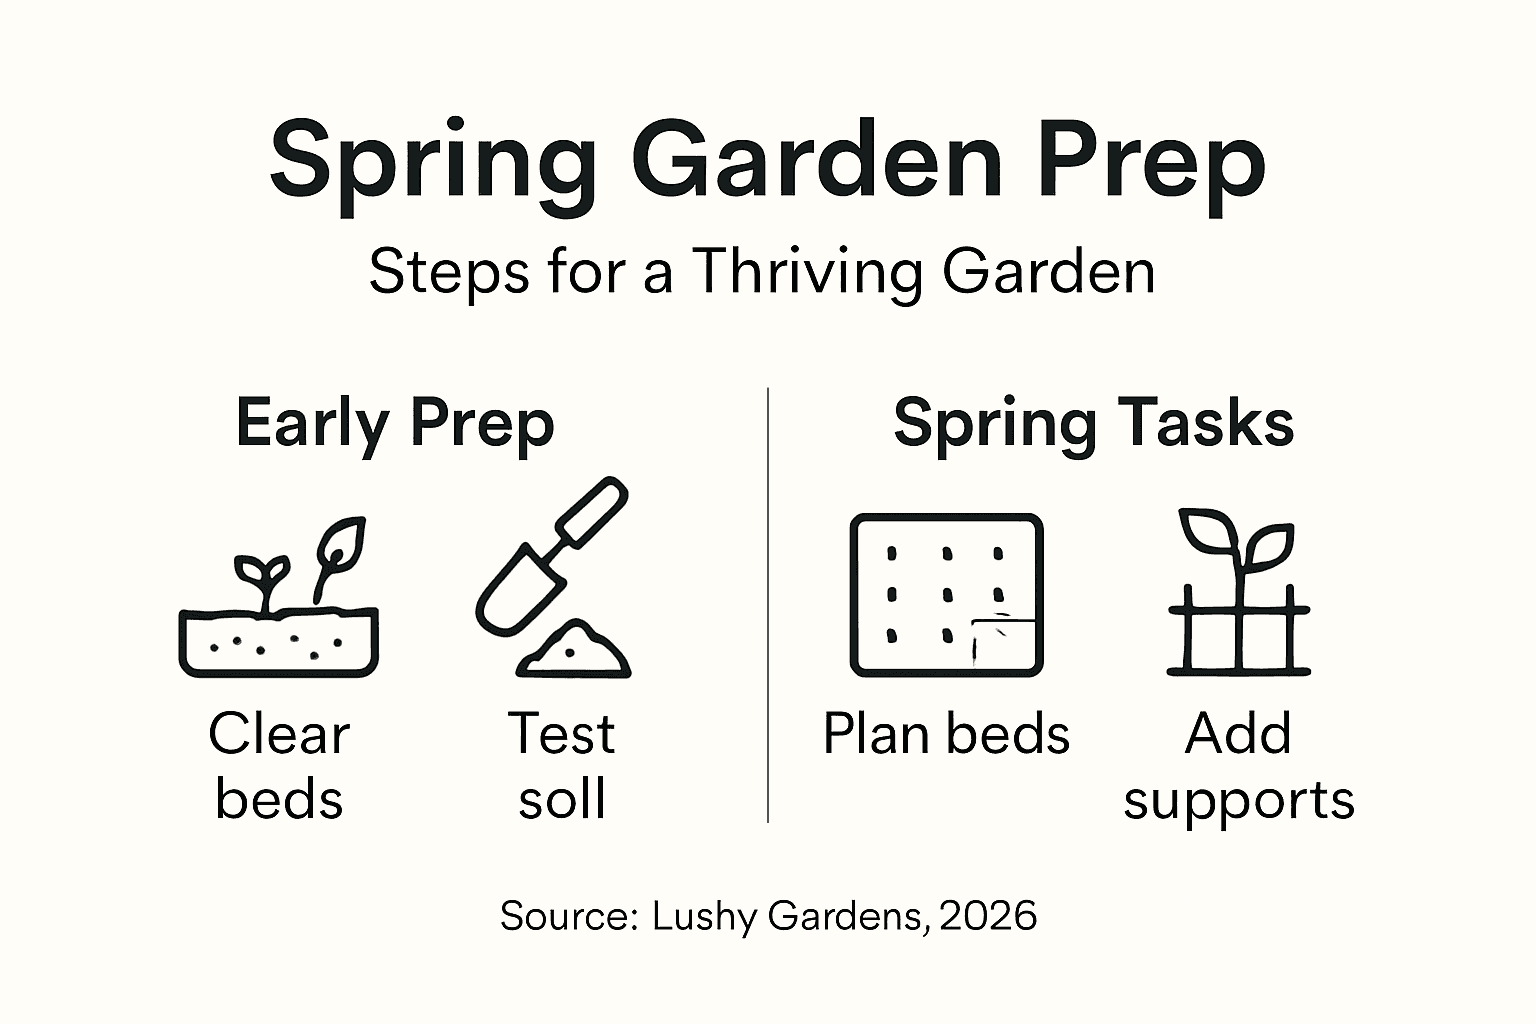
| 1. Clear Debris and Weeds | Removing winter debris and weeds creates a healthy starting point for your garden, reducing competition and pest issues. |
| 2. Test Soil Regularly | Soil testing every 3-4 years identifies nutrient needs and pH levels, enabling targeted amendments for optimal plant health. |
| 3. Plan Your Garden Layout | Thoughtful bed placement maximizes sunlight and plant relationships, promoting efficient growth and easier maintenance. |
| 4. Install Support Structures | Proper supports for plants enhance vertical growth and prevent damage, increasing overall garden productivity. |
| 5. Apply Mulch for Pest Control | Layered mulch not only suppresses weeds but also helps regulate soil temperature and moisture, promoting plant health. |
Step 1: Clear Debris and Weeds for Fresh Beds
Spring garden preparation starts with creating clean, fertile ground for your upcoming planting season. Clearing debris and managing weeds establishes a healthy foundation for your garden beds, preventing competition for nutrients and minimizing potential pest problems.
Begin by thoroughly inspecting your garden area and removing all winter debris such as fallen branches, dead leaves, and plant remnants. These materials can harbor diseases and provide hiding spots for garden pests. Use strategic weed management techniques to ensure a clean growing environment, focusing on both manual and preventative approaches.
Your debris removal process should include several critical steps:
- Remove all dead plant material from previous seasons
- Clear stones and large foreign objects from the garden bed
- Gently rake the soil surface to break up compacted areas
- Identify and carefully extract existing weed roots
Mechanical removal works best when soil is slightly moist but not wet. Carefully pull weeds from their roots, ensuring you extract the entire plant to prevent regrowth. For stubborn perennial weeds, you might need to use specialized weeding tools that can help remove deep root systems.
Thorough debris and weed removal now prevents significant garden management challenges later in the growing season.
Pro tip: Dispose of pulled weeds in sealed bags or through hot composting to prevent potential seed dispersal and future garden infestations.
Step 2: Test and Amend Soil for Healthy Growth
Successful gardening begins with understanding the foundation of plant health: your soil. Comprehensive soil testing provides critical insights into the nutrients, pH levels, and overall condition of your garden beds, allowing you to make targeted amendments that will support robust plant growth.
To start, collect comprehensive soil health indicators by taking multiple soil samples from different areas of your garden. Use a clean trowel to collect samples from 4-6 inches deep, mixing them together to create a representative composite sample. This approach ensures you get an accurate assessment of your entire garden’s soil conditions.
Your soil testing process should include several key steps:
- Purchase a reliable home soil testing kit or send samples to a professional laboratory
- Collect samples from multiple locations in your garden
- Avoid sampling from areas near buildings, walkways, or recently fertilized zones
- Label your samples clearly with location and date
Once you receive your test results, focus on the critical metrics:
- Analyze soil pH to determine if amendments are needed
- Check nutrient levels for nitrogen, phosphorus, and potassium
- Assess organic matter content
- Identify any potential soil contamination issues
Accurate soil testing is the roadmap to a thriving garden, guiding your amendment strategy for optimal plant health.
Based on your test results, you might need to add specific amendments like lime to adjust pH, compost to increase organic matter, or targeted fertilizers to balance nutrient levels.

Pro tip: Test your soil every 3-4 years to track changes and maintain optimal growing conditions, and always test before making significant amendments.
Step 3: Plan and Lay Out Garden Beds Strategically
Creating a thoughtful garden layout is crucial for maximizing your growing potential and ensuring a productive spring garden. Strategic bed planning goes beyond simply placing plants in the ground, involving careful consideration of space, sunlight, and plant relationships.
Begin by exploring effective garden design approaches that optimize your garden’s productivity and accessibility. Take time to observe your garden space, noting key factors like sun exposure, wind patterns, and natural topography that will influence your bed placement and orientation.
Key considerations for strategic garden bed layout include:
- Determine optimal bed width (typically 3-4 feet) for easy reach
- Create clear pathways between beds for maintenance access
- Align beds to maximize sunlight exposure
- Consider companion planting strategies
- Plan for potential future garden expansions
When designing your garden beds, consider these important aspects:
- Measure your available garden space accurately
- Sketch a preliminary garden layout on graph paper
- Mark areas of full sun and partial shade
- Plan raised beds or in-ground configurations
- Allow sufficient space between plants for growth
Strategic garden design transforms your outdoor space from a simple plot to a thriving, productive ecosystem.
Consider using raised beds for better soil control, improved drainage, and easier maintenance. Raised beds also help define garden spaces and can make gardening more accessible, especially for those with mobility challenges.
Pro tip: Use stakes and string to map out your garden layout before digging, helping you visualize the space and make precise measurements.
Step 4: Install Supports and Border Structures
Ensuring your garden has proper structural support sets the stage for healthy plant growth and maximizes your garden’s potential. Garden infrastructure involves strategically installing supports and borders that protect plants, optimize space, and create a visually appealing landscape.
Begin by understanding plant support techniques that will help your garden thrive throughout the growing season. Different plants require unique support structures, so carefully match your support methods to the specific needs of each crop.
Support structure considerations include:
- Assess each plant’s growth habit and potential height
- Choose materials compatible with your garden’s design
- Ensure supports are sturdy and weather-resistant
- Install supports before plants become too large
- Consider future plant growth when positioning structures
Types of garden supports to consider:
Here is a quick reference for popular garden support structures:
| Support Type | Suitable Plants | Installation Timing | Durability |
|---|---|---|---|
| Trellis | Beans, peas | Before sowing seeds | Multiple years |
| Tomato Cage | Indeterminate tomatoes | Shortly after transplant | 2-3 seasons |
| Stakes | Peppers, eggplants | At early growth | 1-2 seasons |
| Netting | Cucumbers, melons | Early vine growth | One season |
| Arbor | Climbing flowers | With initial planting | Multiple years |
- Trellises for climbing plants like beans and peas
- Tomato cages for indeterminate tomato varieties
- Stakes for individual plants needing vertical support
- Netting for delicate climbing vegetables
- Arbors for decorative and functional garden layouts
Thoughtful garden support structures transform plant growth from horizontal sprawl to efficient vertical development.
When installing border structures, focus on creating defined spaces that enhance both functionality and aesthetics. Wooden frames, stone borders, and metal edging can help control soil erosion and provide clear garden boundaries.
Pro tip: Select support materials that will last multiple growing seasons and can be easily cleaned and stored during winter months.

Step 5: Apply Mulch and Prevent Early Pests
Spring garden preparation involves strategically applying mulch and implementing pest prevention techniques to create a healthy, thriving garden environment. Garden protection strategies are crucial for establishing strong plant foundations and minimizing potential pest challenges.
Begin by understanding integrated pest management techniques that create natural barriers against garden threats. Mulching serves as an excellent first line of defense, providing multiple benefits beyond simple ground coverage.
Multilayered mulch application strategies include:
Here is a comparison of common mulch types and their benefits:
| Mulch Type | Ideal Climate | Key Benefit | Longevity |
|---|---|---|---|
| Wood Chips | Temperate | Suppresses weeds | Several months |
| Straw | Cooler regions | Insulates soil, light color | One season |
| Cocoa Hulls | Warm/humid | Adds nutrients, dark color | Several months |
| Pine Needles | Acidic soils | Maintains soil pH | Up to 1 year |
- Select organic mulch materials like wood chips or straw
- Apply 2-3 inches of mulch around plant bases
- Keep mulch slightly away from plant stems
- Choose mulch types specific to your garden’s needs
- Refresh mulch layers periodically
Pest prevention techniques to implement:
- Monitor garden areas weekly
- Remove potential pest habitats
- Encourage beneficial insect populations
- Use physical barriers where necessary
- Practice crop rotation
Proactive mulching and pest management create a resilient garden ecosystem that naturally resists potential threats.
Careful mulch application helps moderate soil temperature, retain moisture, suppress weed growth, and create an environment less hospitable to destructive pests. By integrating these techniques, you establish a strong foundation for your garden’s success.
Pro tip: Choose light-colored mulches in warmer regions to reflect sunlight and prevent soil overheating, and darker mulches in cooler areas to absorb more heat.
Prepare Your Best Spring Garden Yet with Lushy Gardens
Spring garden preparation can feel overwhelming when facing tasks like clearing debris, testing soil, planning garden beds, and installing the right supports. You want to build a thriving garden in 2026 that avoids common challenges such as pest invasions and poor soil health. The article’s steps on debris removal, soil testing, strategic layout, and mulch application show how important a solid foundation is for gardening success.
Discover expert advice tailored for every gardener at Seasonal Gardening – Lushy Gardens where you will find in-depth guides to nurture your outdoor space through every season. New to gardening? Check out Gardening for Beginners – Lushy Gardens for simple and practical tips to get started confidently. At Lushy Gardens, we support your garden goals with trusted insights, product recommendations, and a vibrant gardening community.
Start your spring garden preparation now by visiting Lushy Gardens for the detailed help and tools you need to turn your garden dreams into reality.
Frequently Asked Questions
What steps should I follow to clear debris and weeds from my garden?
To clear debris and weeds from your garden, start by removing all dead plant material, fallen branches, and stones. Then, gently rake the soil surface to break up compacted areas and carefully extract existing weed roots.
How do I test my soil for nutrient levels and amendments?
To test your soil, collect samples from various areas of your garden, mixing them together for an accurate assessment. Use a home testing kit or send samples to a laboratory, and analyze the results to determine nutrient levels and pH adjustments needed for optimal plant growth.
What should I consider when planning my garden bed layout?
When planning your garden bed layout, consider factors like bed width, sunlight exposure, and plant relationships. Measure your available space, sketch a layout, and allow sufficient space for pathways and future expansions to maximize your garden’s potential.
What types of supports should I install for different plants?
Choose support structures based on the specific needs of each plant type. For example, install trellises for climbing plants such as beans and cages for indeterminate tomatoes, ensuring supports are sturdy and installed before plants grow too large.
How can I effectively apply mulch to prevent weeds and pests?
Apply a 2-3 inch layer of organic mulch around plant bases, keeping it slightly away from stems. This will help suppress weeds, retain soil moisture, and create a less hospitable environment for pests, enhancing your garden’s health.
What pest management techniques should I implement in my spring garden?
Implement pest management techniques by monitoring your garden weekly and removing potential pest habitats. Encourage beneficial insects and use physical barriers when necessary to create a healthier garden environment.
Recommended
- Seasonal Garden Maintenance: Step-by-Step Success Guide – Lushy Gardens
- How to Prepare Garden Beds Naturally for Healthy Plants – Lushy Gardens
- Vegetable Garden Planning Made Easy: A Step-by-Step Guide – Lushy Gardens
- When to Plant Vegetables for Maximum Yields – Lushy Gardens

I’m Eleanor, a seasoned gardener with over three decades of experience tending to Mother Nature’s creations. Through Lushy Gardens, I aim to share my wealth of knowledge and help fellow plant enthusiasts uncover the wonders of gardening. Let’s dive into this journey together, one leaf at a time.


