
Table of Contents
TL;DR:
- Growing your own vegetables ensures better taste and saves money on grocery bills.
- Proper site selection, soil preparation, and crop planning are essential for gardening success.
- Beginners should focus on easy crops, follow proper spacing, and use crop rotation to prevent problems.
Store-bought tomatoes that taste like cardboard. Lettuce that wilts before you reach home. A grocery bill that seems to climb every month. Sound familiar? Growing your own vegetables solves all three problems at once, and the setup is more straightforward than most beginners expect. The challenge isn’t the gardening itself. It’s knowing where to start, what soil to use, and which crops to plant first. This guide walks you through every stage, from picking your plot to harvesting your first salad, with practical steps that help you avoid the mistakes that trip up most first-time gardeners.
Table of Contents
- What you need: Essential tools, materials, and site requirements
- Step-by-step setup: Plot selection, soil preparation, and layout
- Best beginner crops: Selection, planting, and succession strategies
- Troubleshooting and avoiding common mistakes: From soil to pests
- Why perfection isn’t the goal: Lessons from real gardens
- Take the next step with Lushy Gardens
- Frequently asked questions
Key Takeaways
| Point | Details |
|---|---|
| Start small and sunny | Choose a garden spot with 6-8 hours sunlight and manageable size, like a 4×8 raised bed. |
| Prep soil annually | Add 2-4 inches of compost and test pH every year to maintain healthy soil for strong crops. |
| Pick easy crops | Lettuce, radishes, and beans are reliable starter vegetables for quick and high yields. |
| Prevent mistakes early | Avoid overcrowding, monitor for pests, and rotate crops to minimize disease and maximize yield. |
| Gardening is learning | Every mistake helps — track progress, adapt, and enjoy the process of growing food at home. |
What you need: Essential tools, materials, and site requirements
Before you buy a single seed packet, you need to get two things right: location and equipment. Miss on either one, and you’ll fight your garden all season long.
Sunlight is non-negotiable. Most vegetables need 6-8 hours of direct sun daily. Walk around your yard at different times of day and observe where shade falls. That sunny patch near the fence or along the south-facing wall is almost always your best bet. Start small too. A 4×4 or 4×8 raised bed, or a 10×10 in-ground plot, is plenty to manage for your first season.
Here’s a quick comparison of what each garden type demands:
| Feature | Raised bed | In-ground |
|---|---|---|
| Startup cost | Moderate | Low |
| Soil control | High | Moderate |
| Drainage | Excellent | Varies |
| Accessibility | Easy | Harder |
| Best for | Small spaces | Larger yards |
For raised bed gardening tips, a 4×8 frame filled with quality soil mix gives you excellent drainage and warms up faster in spring. In-ground beds cost less to build but require more soil amendment work upfront.
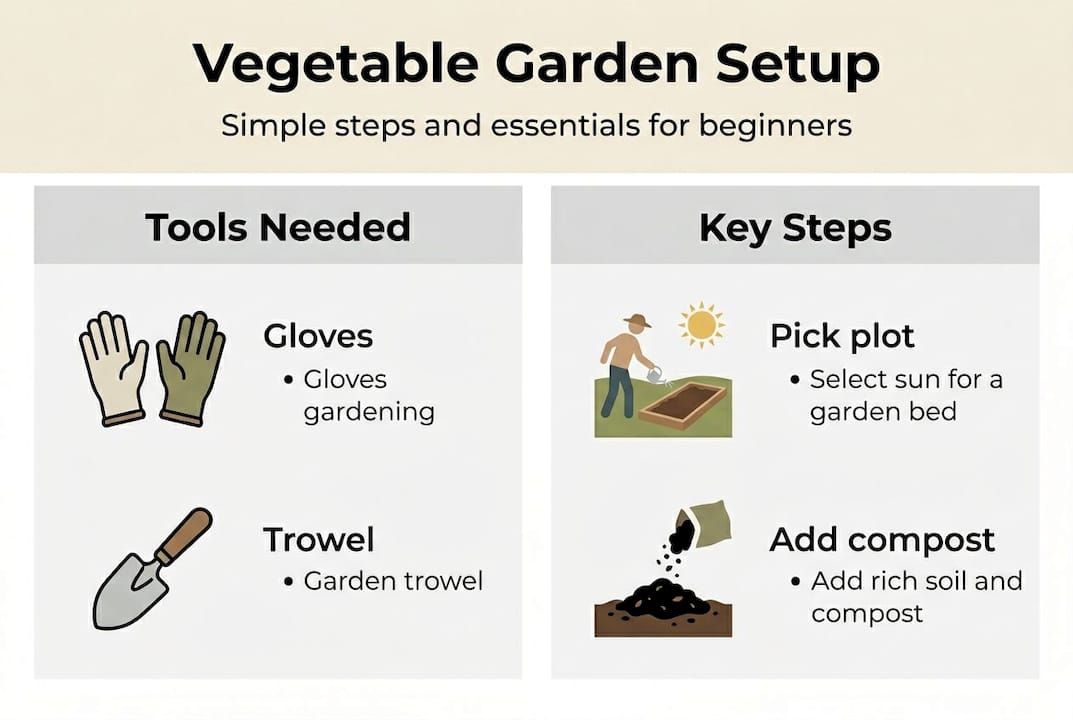
Here are the basic tools every beginner needs:
- Garden trowel for transplanting seedlings and digging small holes
- Shovel or spade for turning and mixing soil
- Soil test kit to check pH and nutrient levels before planting
- Garden gloves to protect your hands during prep work
- Watering can or hose with a gentle nozzle to water without disturbing roots
- Compost to enrich whatever soil you start with
Review beginner garden requirements before finalizing your supply list, especially for your specific climate zone.
Pro Tip: Choose tools with ergonomic, cushioned handles. After an hour of digging, cheap handles cause hand fatigue and blisters that make gardening feel like a chore rather than a hobby.
Step-by-step setup: Plot selection, soil preparation, and layout
With your tools ready, let’s move to the crucial step of selecting and prepping your garden space. This is where most beginners either set themselves up for success or quietly doom their crops before anything is planted.
Step 1: Pick your plot. Choose a spot with maximum sun exposure, reasonably level ground, and easy access to water. Avoid areas near large trees whose roots compete for nutrients and moisture. Check out the benefits of raised beds if you’re deciding between garden types.
Step 2: Prepare your soil. Healthy soil is the single most important factor in your garden’s success. Add 2-4 inches of compost every season and work it into the top 8-12 inches of soil. Compost improves drainage in clay soils and helps sandy soils hold moisture. Learn more about soil preparation basics to avoid nutrient deficiencies later.
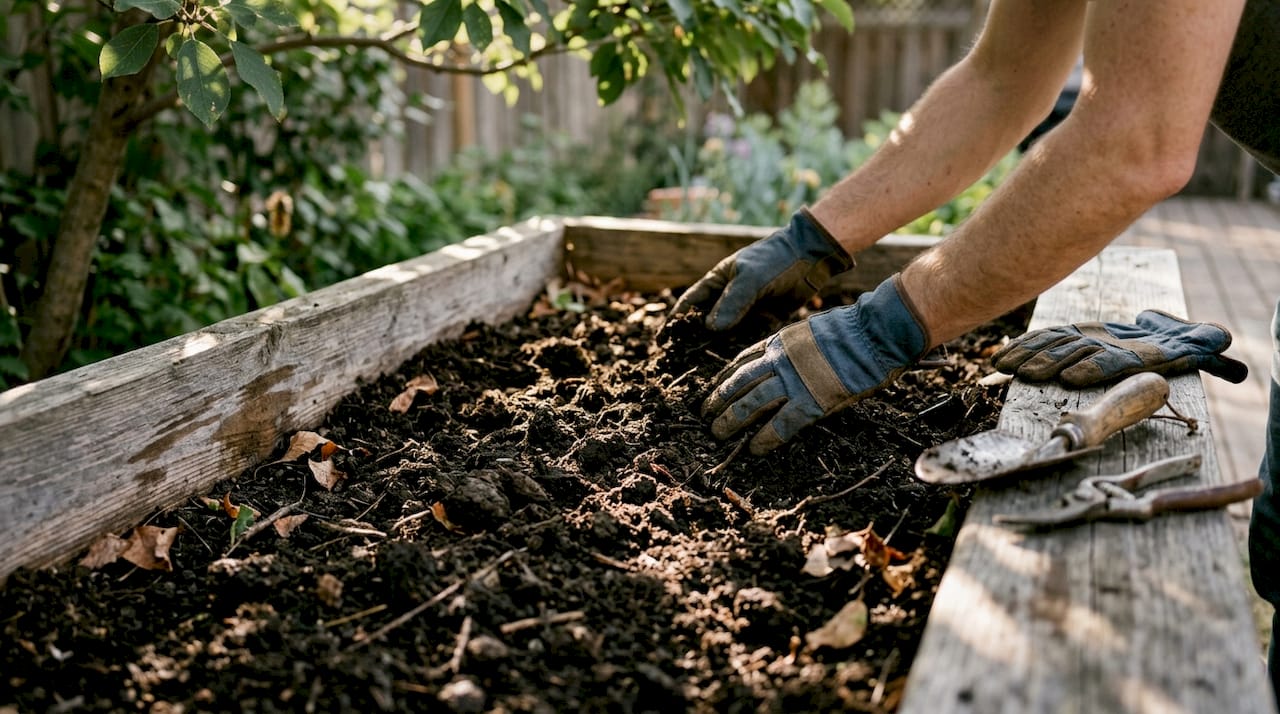
Step 3: Test your pH. Vegetables thrive in soil with a pH of 6.0 to 7.0. If your soil is too acidic, add agricultural lime. Too alkaline, and sulfur brings it back down. A basic test kit from any garden center tells you exactly where you stand.
Step 4: Plan your layout. Group crops with similar water and sun needs together. Tall plants like tomatoes or pole beans go on the north side so they don’t shade shorter crops.
Step 5: Refine with garden layouts for yield. Spacing and arrangement directly affect how much food you harvest.
Did you know? Raised beds can yield up to 4x more harvest per square foot compared to traditional in-ground gardening. A well-managed 4×8 bed can supply a family with 6-8 different crops through the season.
Get more detail on soil prep tips to make sure your first season starts on solid ground, literally.
Best beginner crops: Selection, planting, and succession strategies
With your garden layout in place, let’s focus on the best crops and strategies for bountiful beginner harvests. The secret to early success is choosing vegetables that forgive small mistakes and produce results fast enough to keep you motivated.
Start with these reliable beginner crops:
- Radishes: Ready in just 25 days, radishes are the fastest reward in any garden
- Lettuce: Cut-and-come-again varieties give you weeks of salad greens
- Green beans: Easy to direct sow, minimal care needed
- Spinach and kale: Cold-tolerant and packed with nutrition
- Beets and carrots: Great for loose, deep soil in raised beds
These crops produce high yield per square foot and handle beginner mistakes with a lot more grace than demanding crops like peppers or melons. Explore more quick growing vegetables if you want fast results from limited space.
How to plant, step by step:
- Select your seeds based on your climate zone and current season
- Check your frost dates so you know the earliest safe planting window. Understanding timing your planting makes a real difference in germination rates
- Prepare rows or blocks by loosening soil to the recommended depth on your seed packet
- Sow at the correct spacing to prevent crowding later. Most seed packets list this clearly
- Water gently right after planting, then keep the soil consistently moist until germination
Now here’s where beginners leave a lot of harvest on the table. Most first-time gardeners plant everything at once, harvest in one big wave, and then watch their garden sit empty. Succession planting, which means sowing a new batch of seeds every two weeks, keeps your garden producing from late spring straight into fall. Radishes and lettuce work especially well for this approach since they mature quickly and leave room for the next round.
For additional choices, review beginner vegetable choices based on your region.
Pro Tip: Use block planting instead of single rows and add a vertical trellis for beans or cucumbers. You can effectively double your usable growing space without expanding the garden footprint.
Troubleshooting and avoiding common mistakes: From soil to pests
Even with smart choices, every beginner faces challenges. Here’s how to get ahead of the most common issues and stay confident through your first season.
The four problems beginners encounter most often are:
- Overcrowding: Planting too close cuts yield by 40-60% and creates the humid, airless conditions that diseases love. Follow spacing charts closely
- Poor soil nutrition: Plants that grow slowly or show yellowing leaves usually need more nitrogen or compost
- Watering mistakes: Both overwatering and underwatering stress plants. Stick your finger two inches into the soil. If it’s dry, water. If it’s still damp, wait
- Ignoring pests early: A few aphids become thousands within days. Inspect plants every day during the growing season
Review common garden mistakes and vegetable spacing for yield before planting to get your layout right from the start.
“Rotation reduces blight by 70%. Avoid overhead watering to significantly cut disease pressure across your entire garden.”
Cultural practices like crop rotation, proper spacing, and watering technique prevent far more problems than chemical sprays ever will. Rotate your crops each season so the same plant family never grows in the same spot two years in a row. This breaks pest and disease cycles naturally.
Pro Tip: Apply 2-3 inches of straw or wood chip mulch around your plants and always water at the soil base, not overhead. This combination suppresses weeds, holds moisture, and prevents the soil splash that spreads fungal disease to lower leaves.
Why perfection isn’t the goal: Lessons from real gardens
Here’s something most gardening guides won’t tell you: your first garden will have problems. Plants will bolt. Something will get eaten. One bed might flood while another dries out too fast. That’s not failure. That’s gardening.
At Lushy Gardens, we’ve seen beginners quit after one rough season because they expected everything to go smoothly from day one. The gardeners who thrive are the ones who treat each issue as data, not defeat. A wilted plant tells you about drainage. A pest outbreak teaches you where to check earlier next time.
Even experienced gardeners lose crops to unexpected frost, unusual weather, or a new pest species. The difference is that they’ve built enough knowledge through observation to adjust quickly. You build that same knowledge by showing up consistently, not by growing a perfect garden immediately.
Keep a simple notebook near your garden. Jot down planting dates, what worked, what didn’t, and what surprised you. Patterns emerge after just one season. The beginner gardening guide at Lushy Gardens goes deeper on building that observational habit from your first week.
Pro Tip: Write the date and variety name directly on a popsicle stick plant marker. At season’s end, you’ll have a record of exactly what you grew, not just what you intended to grow.
Take the next step with Lushy Gardens
Feeling ready to start? Lushy Gardens has everything you need to move from planning to planting with confidence. Whether you’re still sorting out your setup or ready to scale up after your first season, our guides meet you exactly where you are. Work through the complete gardening basics to make sure you haven’t missed a foundational step. Then use the garden maintenance guide to keep your beds productive week by week. If you want your space to look as good as it produces, our garden design ideas give you practical layout inspiration that works for any yard size or budget.
Frequently asked questions
How big should my first vegetable garden be?
Start with a 4×4 or 4×8 raised bed, or a 10×10 in-ground plot. These sizes are manageable for one person and produce enough food to make the effort genuinely worthwhile.
What’s the easiest vegetable for beginners to grow?
Radishes are the top pick since they mature in just 25 days. Lettuce and green beans are close behind, requiring very little fuss and producing well even with minor care mistakes.
How do I prevent pests and diseases in my vegetable garden?
Rotate crops each season, inspect plants daily, mulch the soil surface, and always water at the base. Cultural practices like these stop most problems before they start, without needing chemical sprays.
How often should I add compost to my garden?
Add 2-4 inches of compost every year before the planting season begins. This annual refresh keeps your soil biologically active and maintains the nutrient levels vegetables need to produce well.
What’s a common mistake beginners make in vegetable gardens?
Overcrowding is the most damaging early error. Yield drops 40-60% when plants compete for light and airflow, so always follow the spacing recommendations on your seed packets.
Recommended
- Vegetable gardening basics: step-by-step guide for beginners – Lushy Gardens
- Vegetable Garden Planning Made Easy: A Step-by-Step Guide – Lushy Gardens
- Growing Vegetables in Pots: A Step-by-Step Success Guide – Lushy Gardens
- Simple Garden Design Ideas for Beginners – Lushy Gardens
- Step-by-Step Guide to Invasive Plant Surveys for Homeowners

I’m Eleanor, a seasoned gardener with over three decades of experience tending to Mother Nature’s creations. Through Lushy Gardens, I aim to share my wealth of knowledge and help fellow plant enthusiasts uncover the wonders of gardening. Let’s dive into this journey together, one leaf at a time.


